Using Training Corner
Training Corner is capable of holding a great deal of information about your classes and the teams who enroll in them. But because different trainers will have different needs, not everything will be relevant to you.
So, here are some basic recommendations for working with Training Corner:
- If an item isn't important to you (or doesn't make sense in your work), ignore it. If it is really important, the program will let you know. And if you decide later that the item is useful to you, you can always enter it later.
- Start slowly and add more data as you find you need it.
- Training Corner uses templates all through the program. Leverage that. For example, suppose you define an exercise. Then later, you want to define a new exercise that is a more rigorous version of the original. Rather than start from scratch, you can open a copy of the original exercise and modify it to add rigor. The result is two exercises; one easy, the other harder.
- Training Corner runs on Macintosh desktops and laptops, iPads, and iPhones. And it will use your iCloud account to synchronize data between your devices. You can use that to your advantage. For example, you can choose to do manage your classes on a laptop, but use your iPhone or iPad in class to capture teams as they practice what you're teaching — with videos, still photos, sound recordings, notes, etc. All of this rich data will appear on your laptop automatically.
Getting Help
Help is available in Training Corner in a number of ways.
 |
This is a help button. Tap it to display a small pop-up window containing pertinent information about your options at that point in the interface. |
 |
This is a tip button. Tap it to display a suggestion or idea which you may find to be useful. |
 |
This is a guide button. Tap it to display information about the purpose of an item or more detailed information of what you can do at this point. |
More help is available within the Training Center application. Tap on the More tab. The top section of the resulting view contains a variety of resources, including a brief on-line users guide.
TopSaving Data
For the most part, any changes you make to Training Corner are saved automatically. There is no Save command.
However, there are some situations (primarily when you are adding something new, like a new class, a new team, etc.) where a different approach is needed. When there are required fields, we need to make sure they have been filled in before adding them; adding invalid records into Training Corner is obviously a bad idea. We handle this situation by using a dialog with explicit Save and Cancel buttons at the top of the screen.
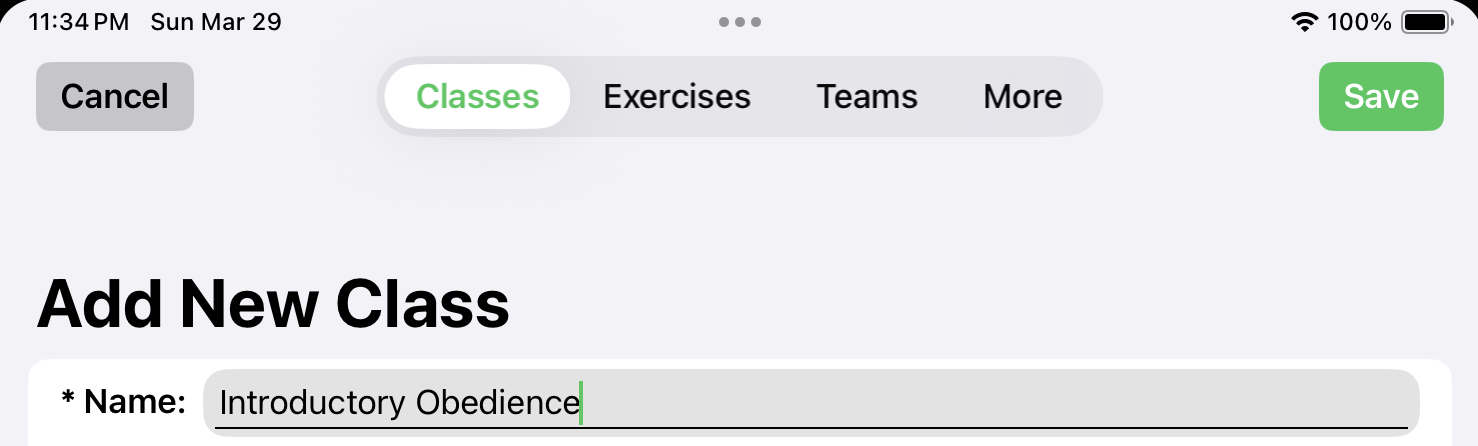
To save this new information, you must tap the Save button.
Also note that the Save button will be disabled if any required information is missing.
TopSections
Many of the views in Training Corner contain significant amounts of information, much more than can be displayed on your screen all at once. Rather than requiring you to scroll (potentially a long way) to see it, Training Corner divides that content into sections.

Tap on a "radio buttons" to move to the selected section.
TopMenus
Training Corner uses pop-up menus to display choices in a list. If you see a button with upward and downward pointing chevrons,
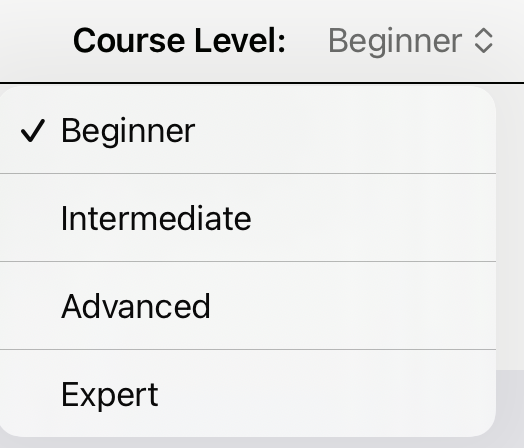
that indicates a menu. Tapping it will pop up the available selections, allowing you to choose one.
TopShort Text Fields
Training Corner contains a variety of fields where a short textual response is appropriate. All such fields are displayed shaded.

To enter your response, tap in the field. It will display an underline to indicate that the keys you type will go into that field.
… with Selector
Sometime, the short response you are asked to provide is one that you would enter repeatedly. To avoid making you type this response more than once, Training Corner provides a Selectable Short Text field.

You can tap the short text field and edit it as you wish. But alternately, you can also tap the Add menu button to display a set of choices for this field.
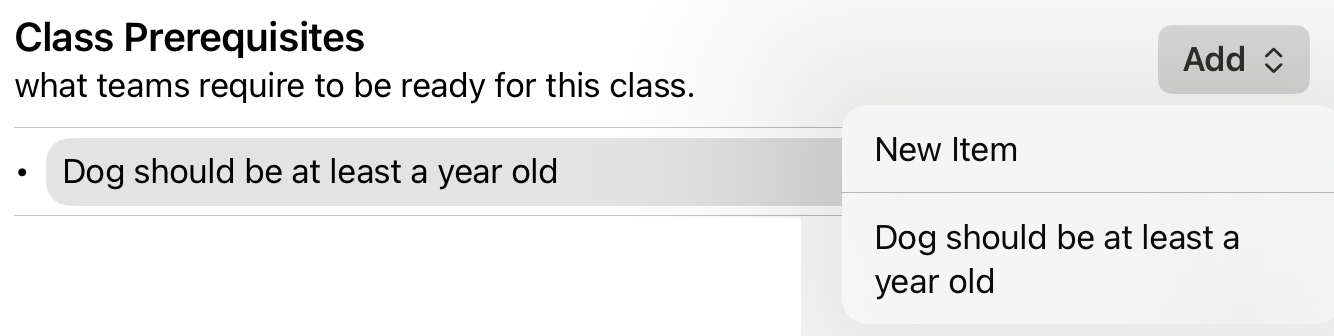
Notice that the first item in the pup-up menu is always "New Item". So if you don't find what you're looking for in the list, you can easily add a new item, which will both be added to the short text field and be added to the pop-up menu for use at a later time.
TopNarratives
Sometimes a short answer just won't do. For these situations, Training Corner uses a "narrative".
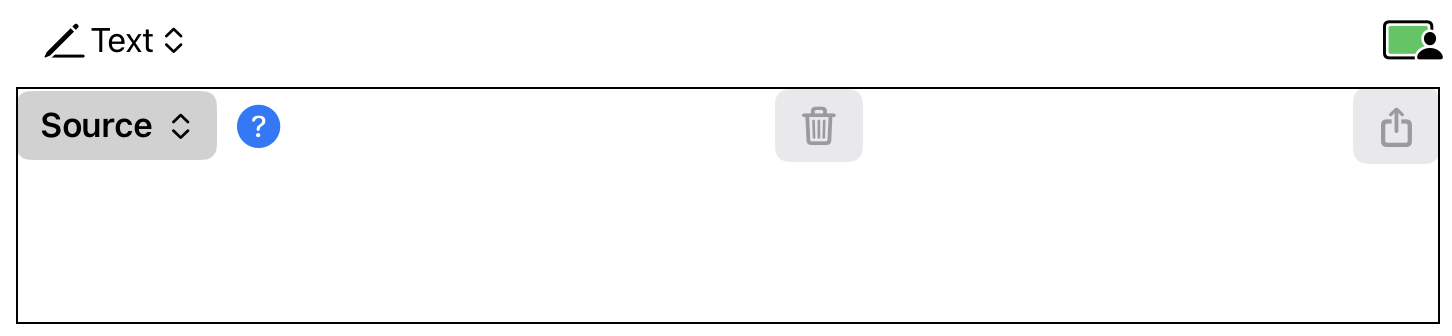
The first thing to notice about a narrative is the menu in its top-left corner. This menu defines how the narrative will store its content. Storing the content as text is not the only option.
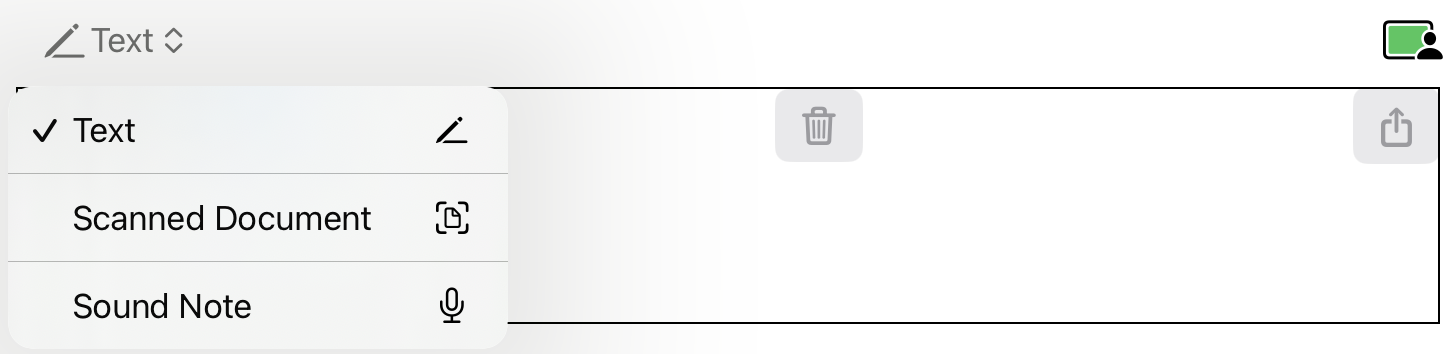
Your options are to store the narrative's content as
- Text. Text is the most efficient (but not always the most expressive) way to store content.
- Scanned Document. If you are a person who likes to make notes on paper, you can do so and then use the scanned image as the narrative's content.
- Sound Note. You can also record content in a narrative by speaking into a microphone (which is built in to all supported devices) and saving it as a sound note.
Once you've decided how you want to store your content (and, therefore, how it will be presented to you later), you get to choose how to get the information into the narrative. That's where the Source menu comes in. For all three storage choices, there are source options.
TopText Narratives
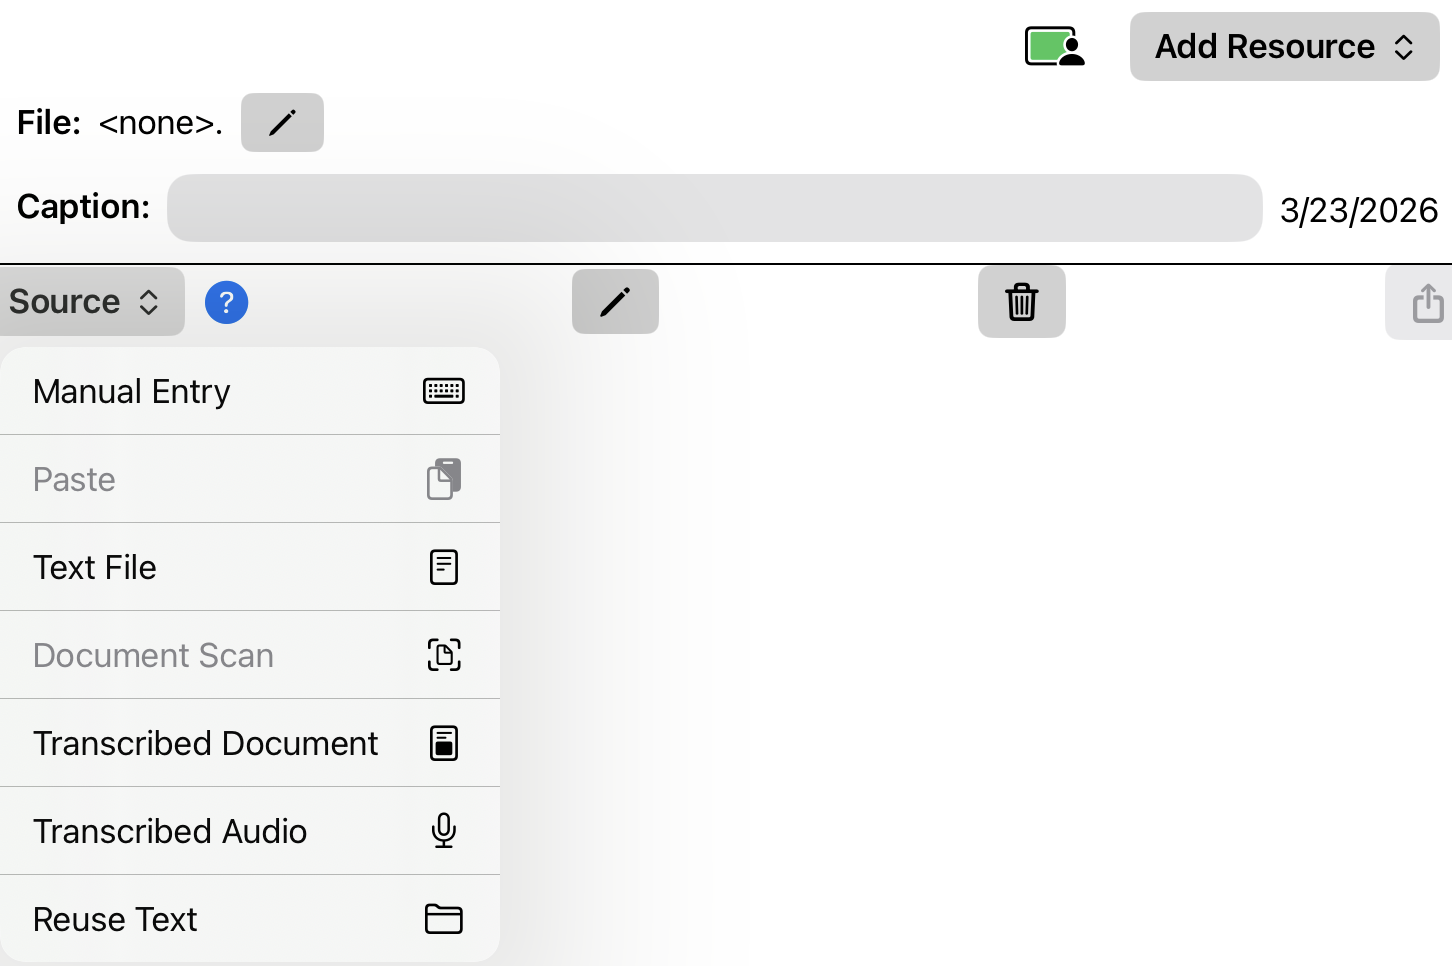
Text narratives offer a rich set of input choices.
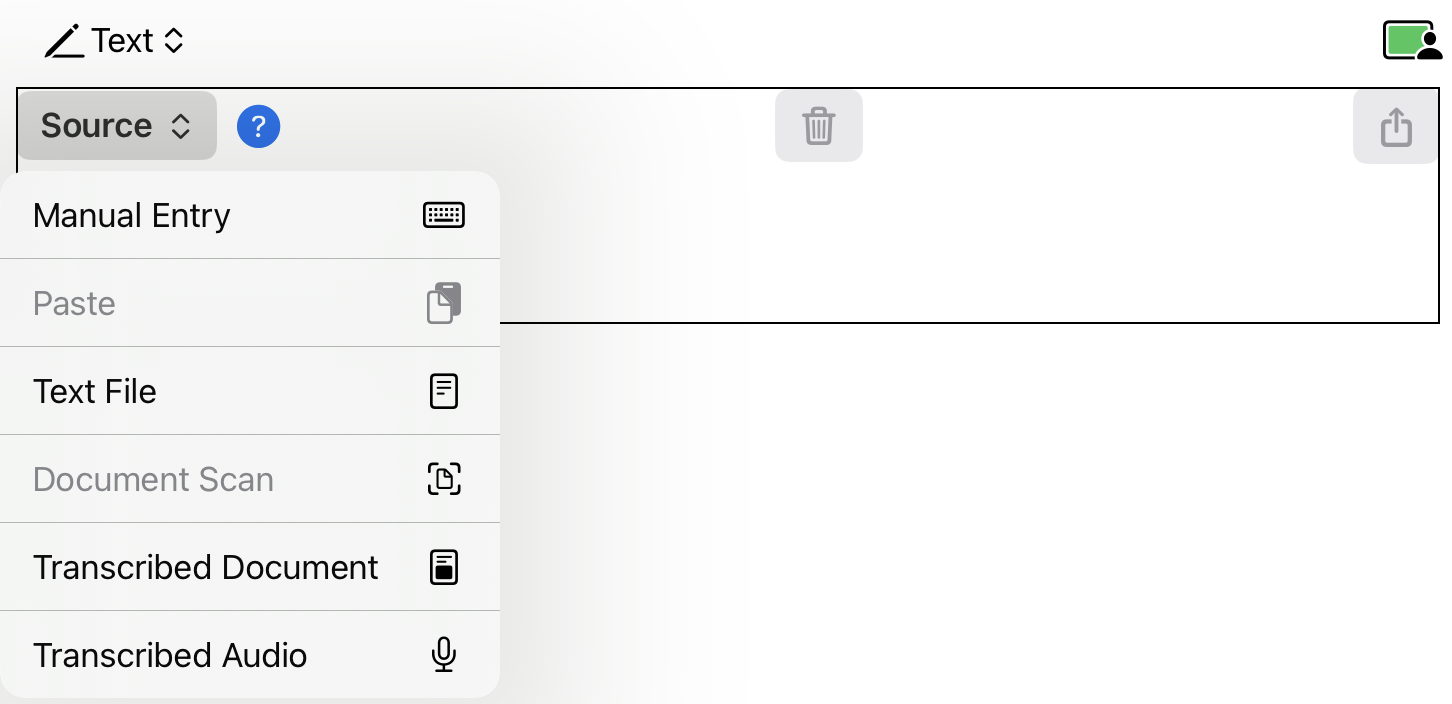
- Manual Entry. You can always choose to type the content. Actually, you don't need to actually select this option — you can just tap in the body of the narrative and start typing.
- Paste. If you've copied some text, you can just paste it. In the example above, paste is disabled because no copied text is currently available.
- Text File. If you have a (plain) text file containing the content, you can use it. Choosing this option will bring up a standard file dialog.
- Document Scan. Using a document scanning interface, capture the image of a one-page document using your camera and attempt to convert its content to text. The transcription feature is pretty good, but if working with a handwritten note, you may need to make some manual corrections. (In the above illustration, this option is disabled because the user denied permission to use the camera.)
- Transcribed Document. Alternately, you can choose an image which is already in your Photo Library and attempt to extract the text it contains.
- Transcribed Sound. Finally, you can choose to record yourself dictating the content you want to use and have the program convert your words into text. As with image transcription, this process is good, but not perfect; some manual editing may be required.
Scanned Document Narratives
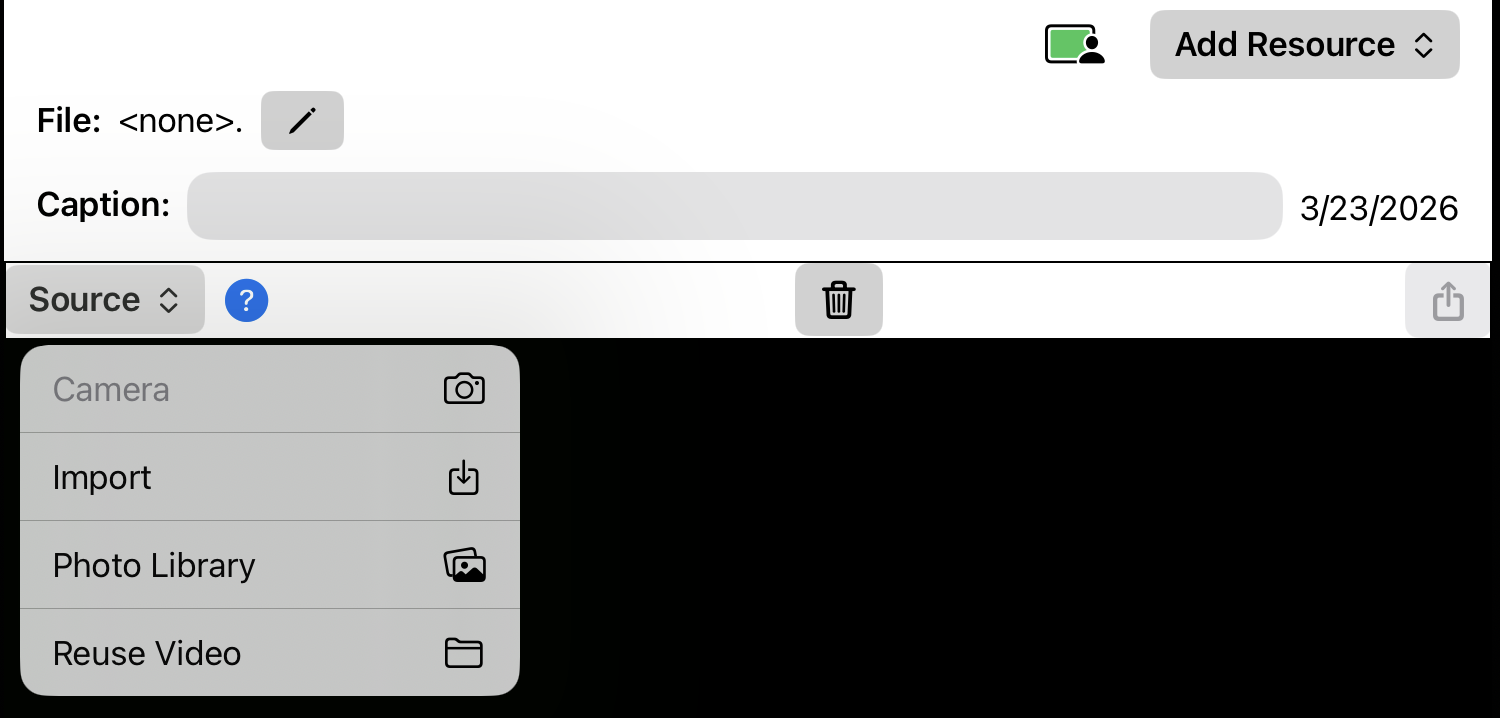
Scanned document narratives store an image (a photo) instead of text. There are a number of options for creating and selecting that image.
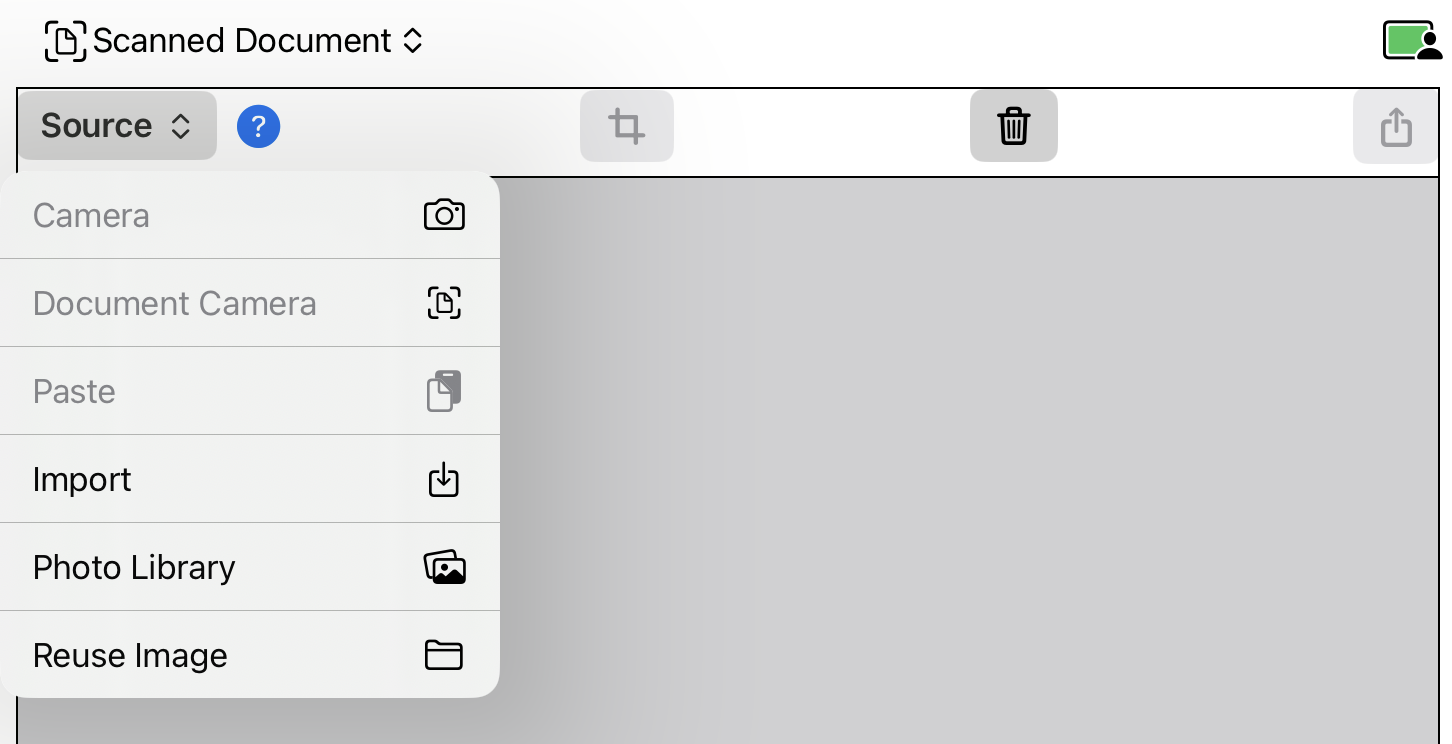
- Camera. Use the standard camera interface to capture the image. This option requires permission to use the camera.
- Document Camera. Use the document camera interface to capture the image. If you choose this option, the program will attempt to locate the edges of the paper and automatically crop the image appropriately.
- Paste. If you've copied an image, you can paste it in.
- Import. If you have an image file (that is not in your Photo Library), you can select and use it.
- Photo Library. If you have an image in your Photo Library, you can select and use it.
- Reuse Image. You can also browse all of the images you've included in Training Corner and use one of them.
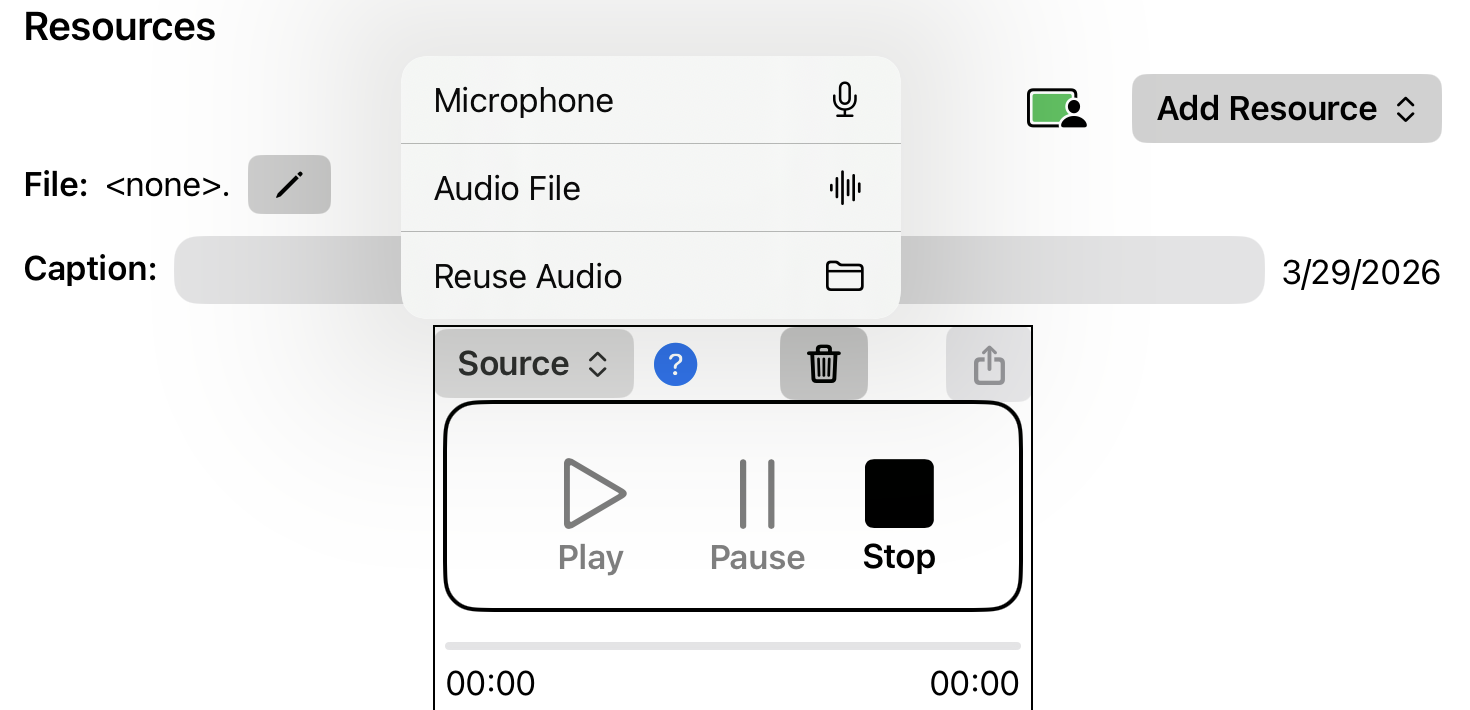
Sound Note Narratives
Sound note narratives store an audio recording instead of text. There are three options for creating and selecting that audio.
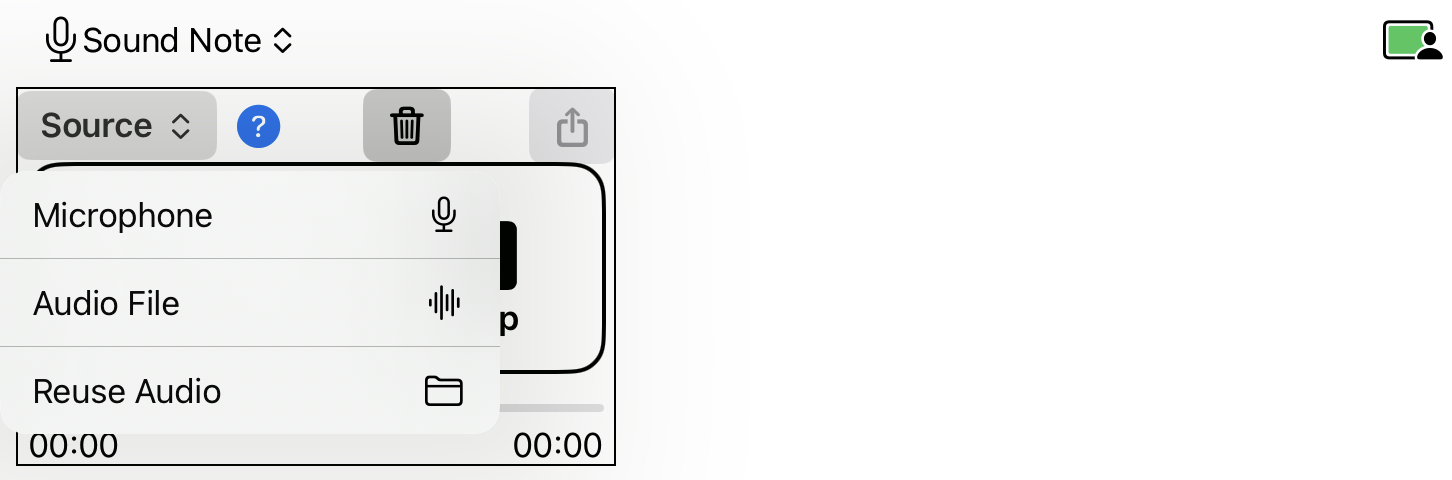
- Microphone. Use the microphone to record your remarks.
- Audio File. If you have already recorded the audio as a file, select and include it.
- Reuse Audio. You can also browse all of the audio recordings you've already included in Training Corner and use on them.

The interface for listening to a recorded sound should look quite familiar.
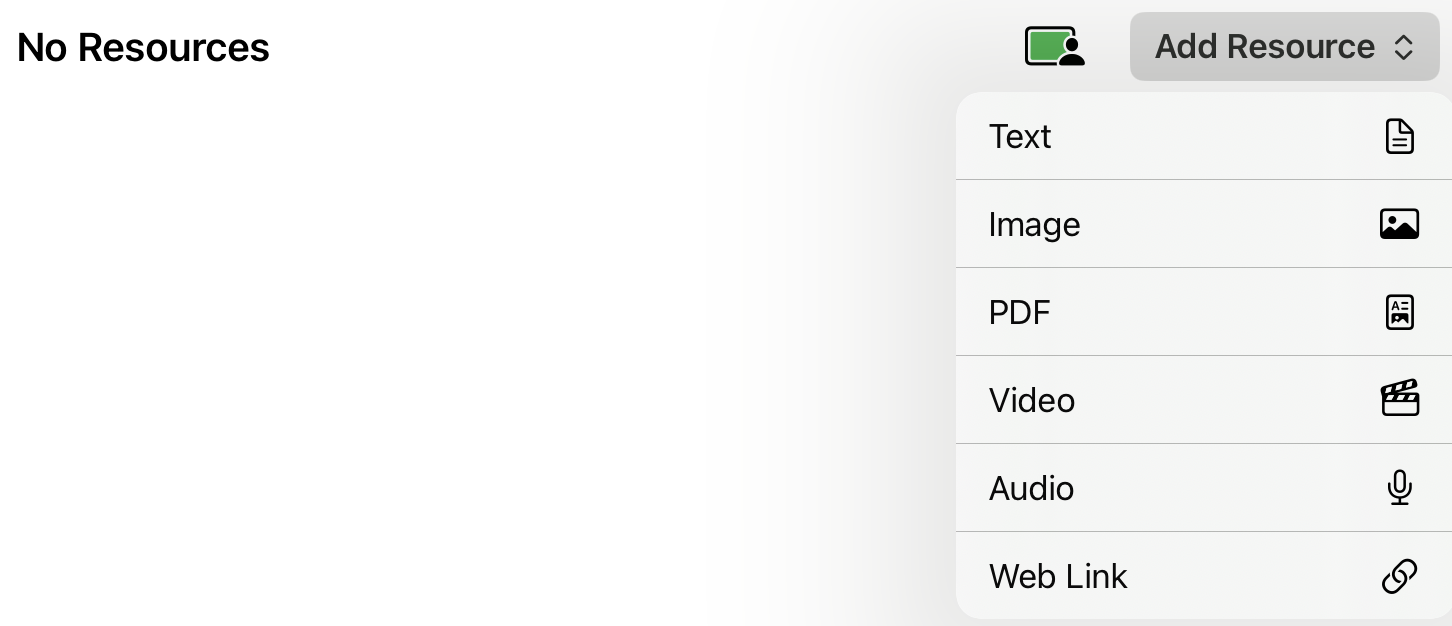
TopResources
Supplemental materials — photos, videos, sound recordings and more — are used in many places in Training Corner for many different purposes.
- A handler could use photos or videos of their animal as evidence of behaviors that need modification.
- You could capture photos or videos during class to record what you are observing a team doing.
- You can include items to serve as exemplars for teams to study to improve their skills.
- You could include materials (including PDFs and weblinks) as study materials in a homework assignment.
- Etc.
These items are variously called resources, artifacts, exemplars and study materials, depending on their purpose. But all share the same basic features.
Resources are displayed in carousels. A carousel is an view that scrolls horizontally. It displays one item at a time; you scroll it to see the next one. Each carousel can hold an unlimited number of resources and can contain any mix of different media types as the situation warrants.
Training Corner supports six types of resources — text, image, PDF, video, audio and web-link.
And as we've seen with narratives, each type has its own unique set of ways to collect and display the resource content.
TopReusing Resources
Resource objects can be quite large. A photo can easily occupy megabytes of storage; videos could occupy hundreds of megabytes. So space considerations are important.
There are many valid reasons to want to use a resource multiple times.
For example, suppose you have a 300 MB video showing an animal performing an exercise perfectly. You want to incorporate it into the materials of several of your classes. But you don't want to include the same 300 MB video multiple times. That is wasteful of disk space and other resources, such as network capacity.
Training Corner addresses this problem by allowing you to reuse (i.e., share) resources, and includes custom pickers (based on the Photo Library picker idiom) to facilitate this.
TopText Resources
Unlike text narratives, text resources are meant to be captured and then remain unchanged. For that reason, you if you are going to compose a text resource manually, you must choose the Manual Entry option. And if you need to edit a text resource later, use the pencil button (to the right of the Source menu).
TopImage Resources
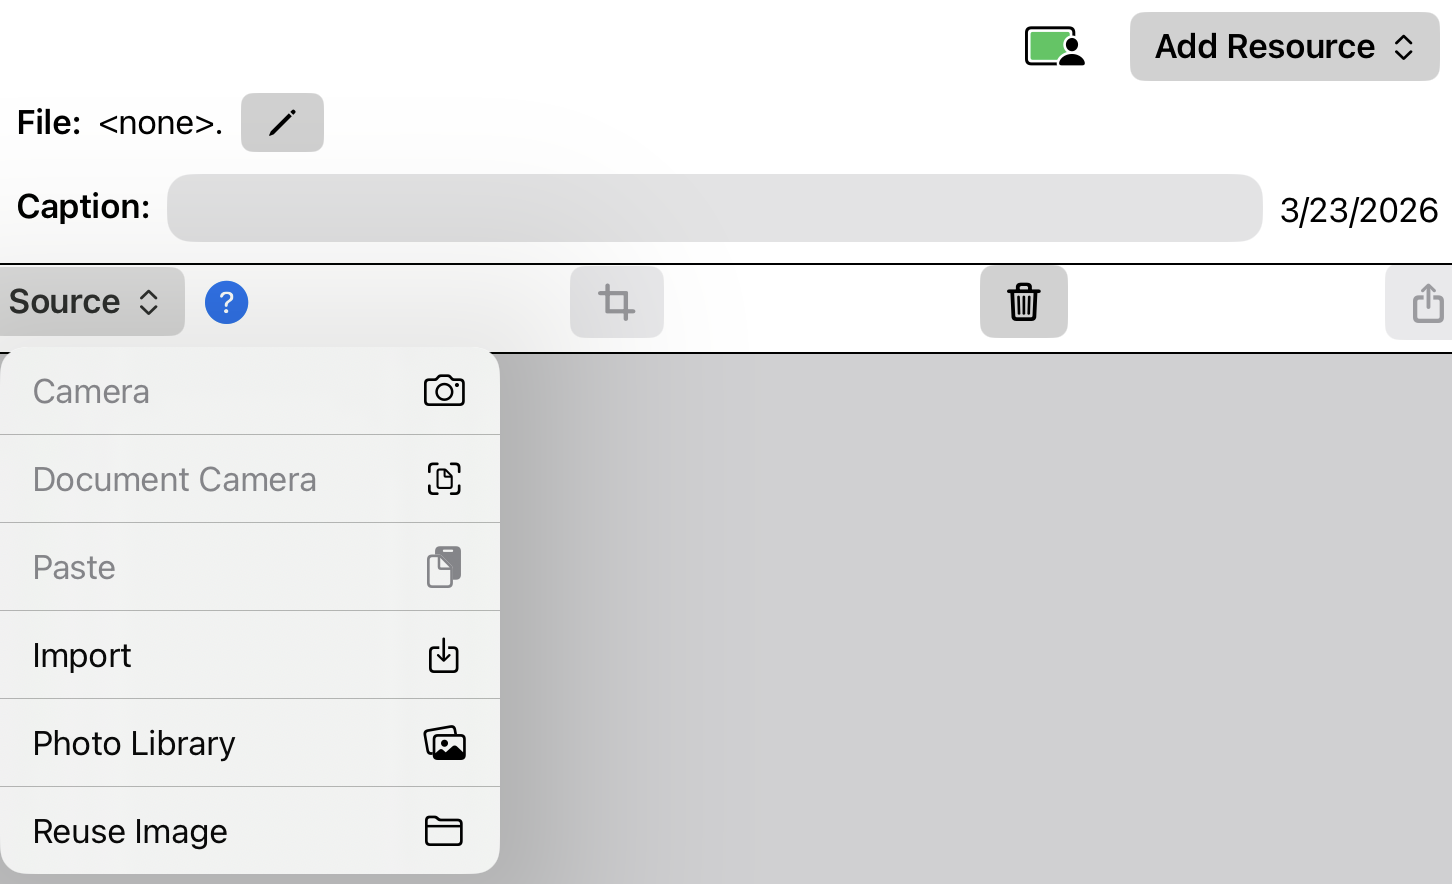
Image resources work just like the scanned document narratives described above. Of particular note is the edit button (with the "crop" icon). Tapping it opens a dialog that provides a number of useful editing features such as image cropping, straightening, rotation, etc.
An important limitation to image resources is that they are limited to single images. The resolution of this limitation is below.
TopPDF Resources
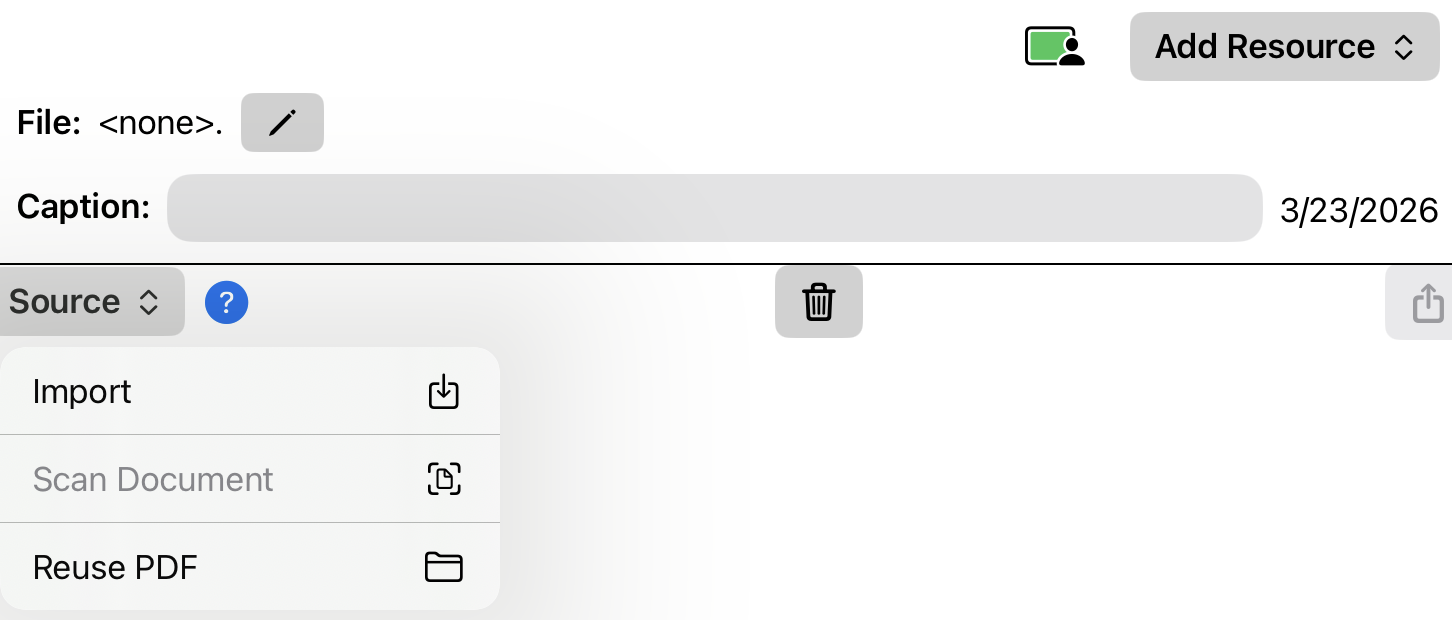
As you can see, you can add a PDF file as a resource by selecting an existing file (including reusing a PDF). But there is another option ("Scan Document") which is interesting.
Suppose you have several pages of notes or observations that you wish to add to Training Corner. Adding them as images is awkward because each page would have to be a separate file. (Supported graphic formats do not handle multi-page or multi-image files.) That's where the Scan Document option comes in.
With scan document option, you can take a picture of each page of your notes and the program will stitch these individual images together into a multi-page PDF document (with one image per page).
TopVideo Resources
Video recordings are an important tool for documenting behavior. Training Corner supports capturing videos live on your device. You can also capture a video as a file or as an item in your Photo Library and add it to Training Corner.
Finally, you can pick a video that you've already included in Traaining Corner and use it again. This is particularly handy when you are saving exemplars — videos which show exceptional examples.
TopAudio Resources
Audio recordings can be made using your device's microphone, and can record either your voice or ambient sounds. You can also import a sound file or choose to reuse a sound recording.
TopWeb Link Resources
The web is a rich resource for training materials which you can present to your teams or ask them to review and study as part of their homework.
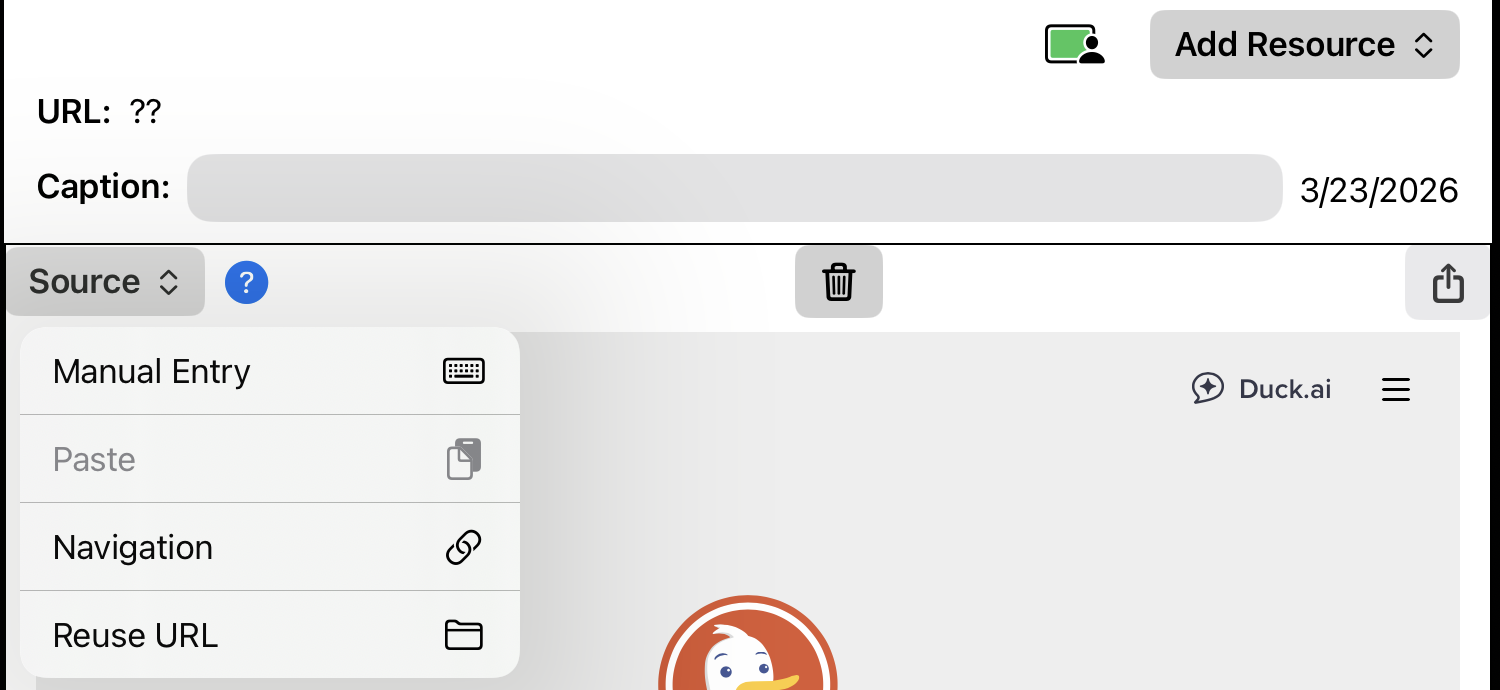
Training Corner stores the web links (i.e., URLs), not the content of web pages. So to capture a web link as a resource, you need to capture the page's URL. There are several ways to do that.
- Manual Entry. If you know the URL you want, you can pick manual entry and just type it in.
- Paste. If you've copied the URL from elsewhere, you can paste it in.
- Navigation. You can also choose the navigation option, which allows you to select the URL by navigating to it in a web browser.
- Reuse URL. Finally, you can selet a URL which you've used previously.
If you choose the Navigation option, the program will open a web browser.
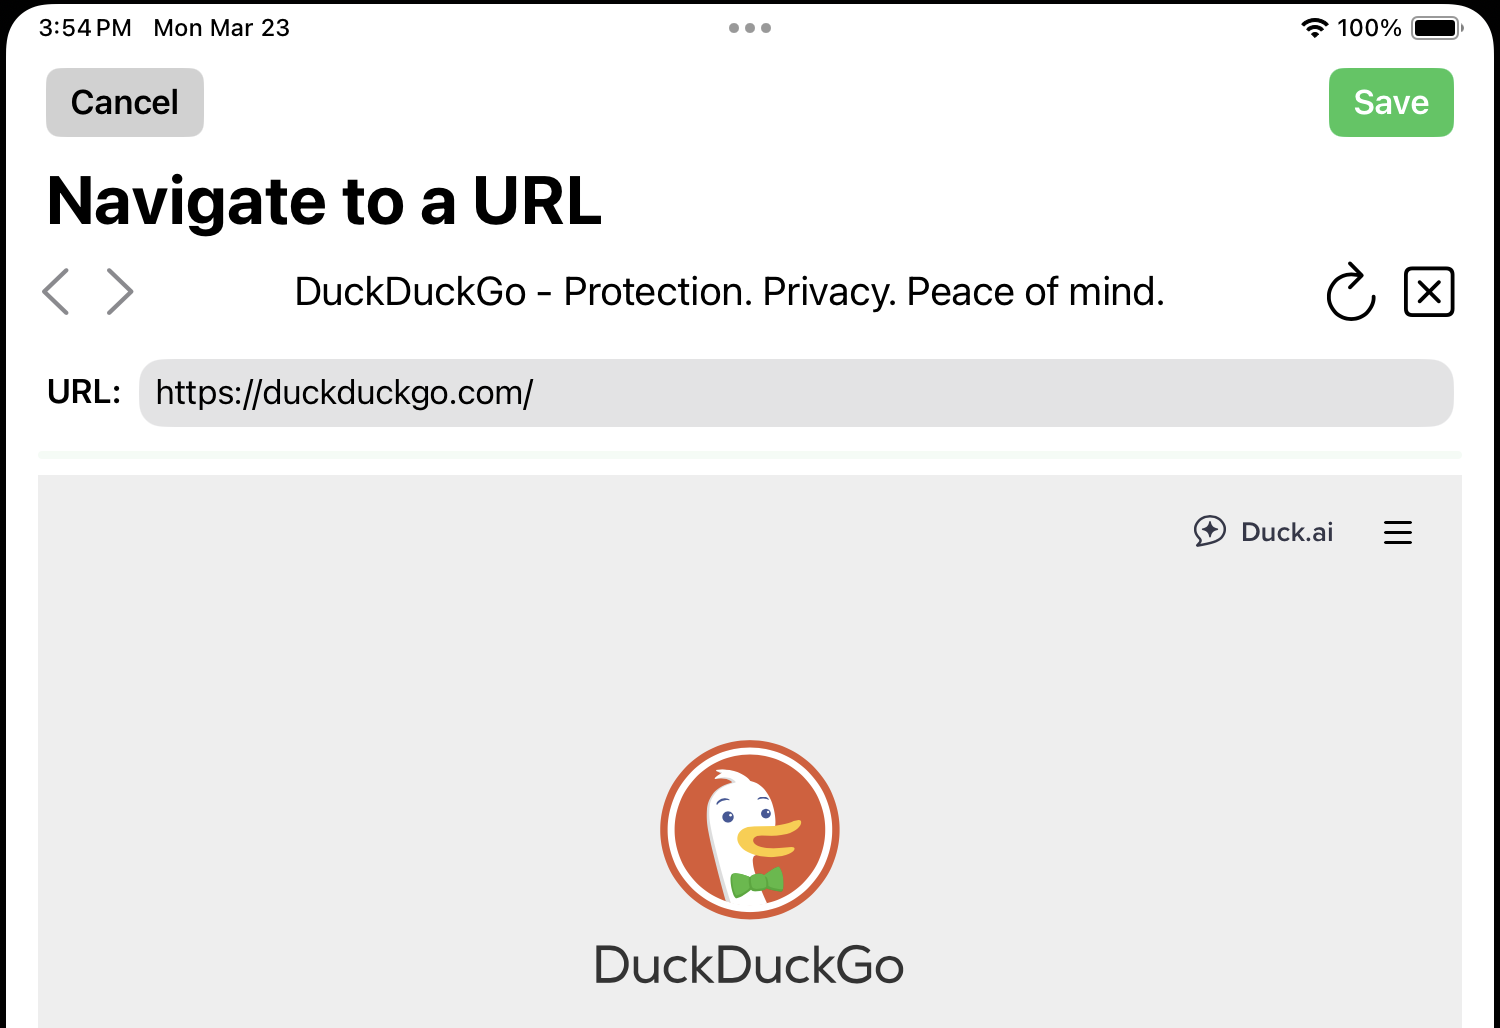
Use it to navigate to the page you want. When that page is displayed in the browser, tap Save to capture the URL.
TopNotes
In Training Corner, notes are used to capture your thoughts about teams, the animals and their handlers. Records for teams, animals and handlers all have Notes sections.
But there are also Notes sections for classes, sessions and exercises. The intent of these notes is different — to record your thoughts and reflections about what is working/not working or needing of improvement in your classes, sessions and exercises. In other words, there are Notes sections which allow you to reflect on your teaching itself, so that you can improve in the future.
Notes List
Each Notes section contains a list of the notes for that section.
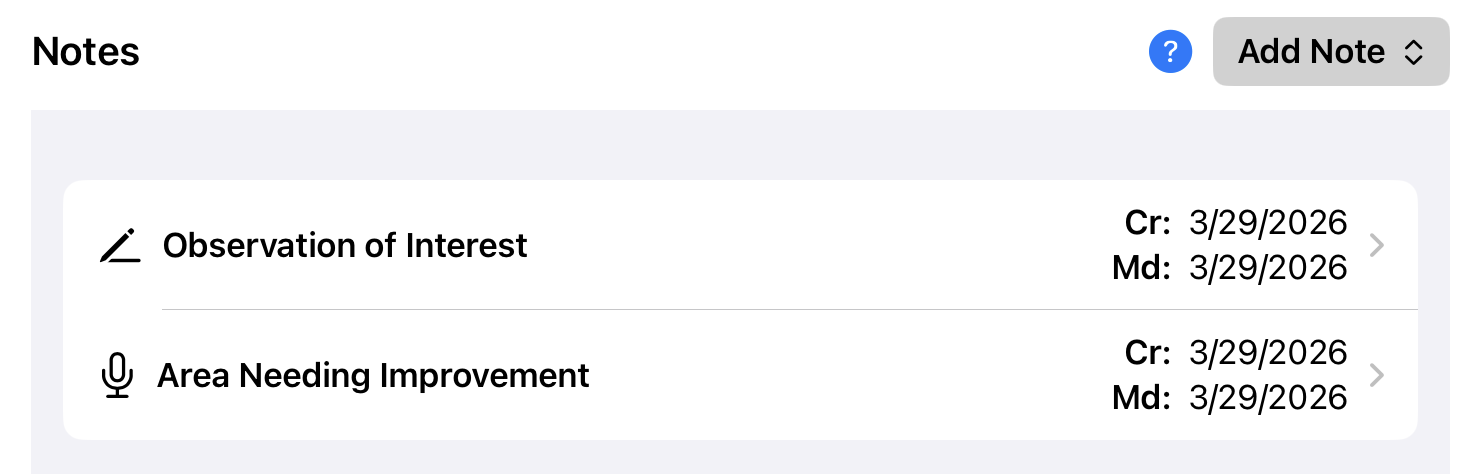
To create a new note, tap Add Note.
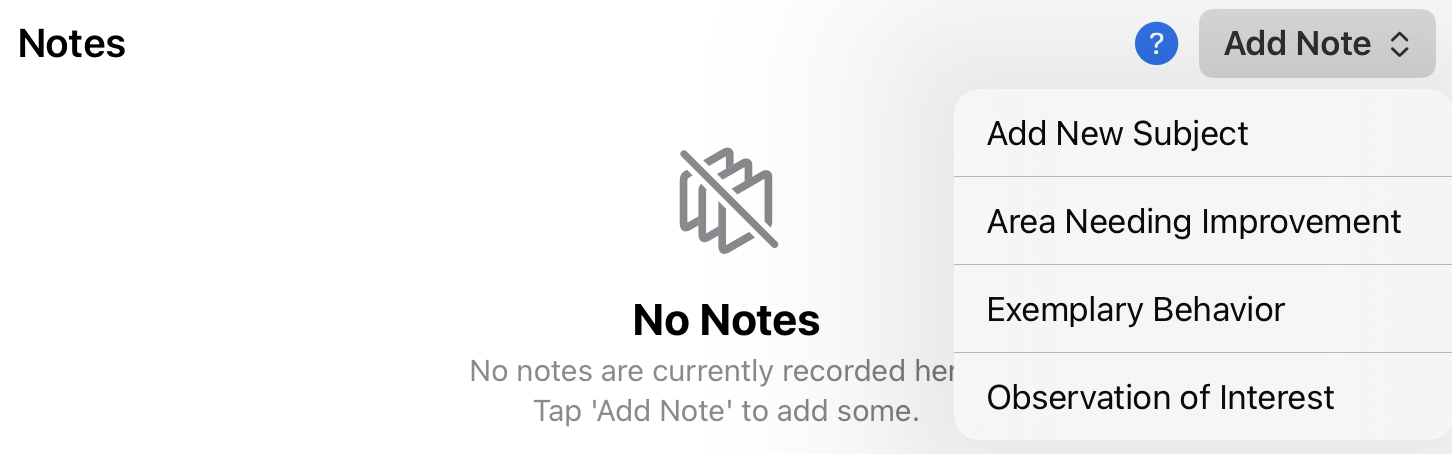
Every note has a subject which serves as the note's title. To create a new note, you must select a subject, which can either be a previously-defined subject or a new one you enter.
Each entry in the notes list has a subject (title), an optional subtitle, and creation and last modification dates. To view a note, just tap it.
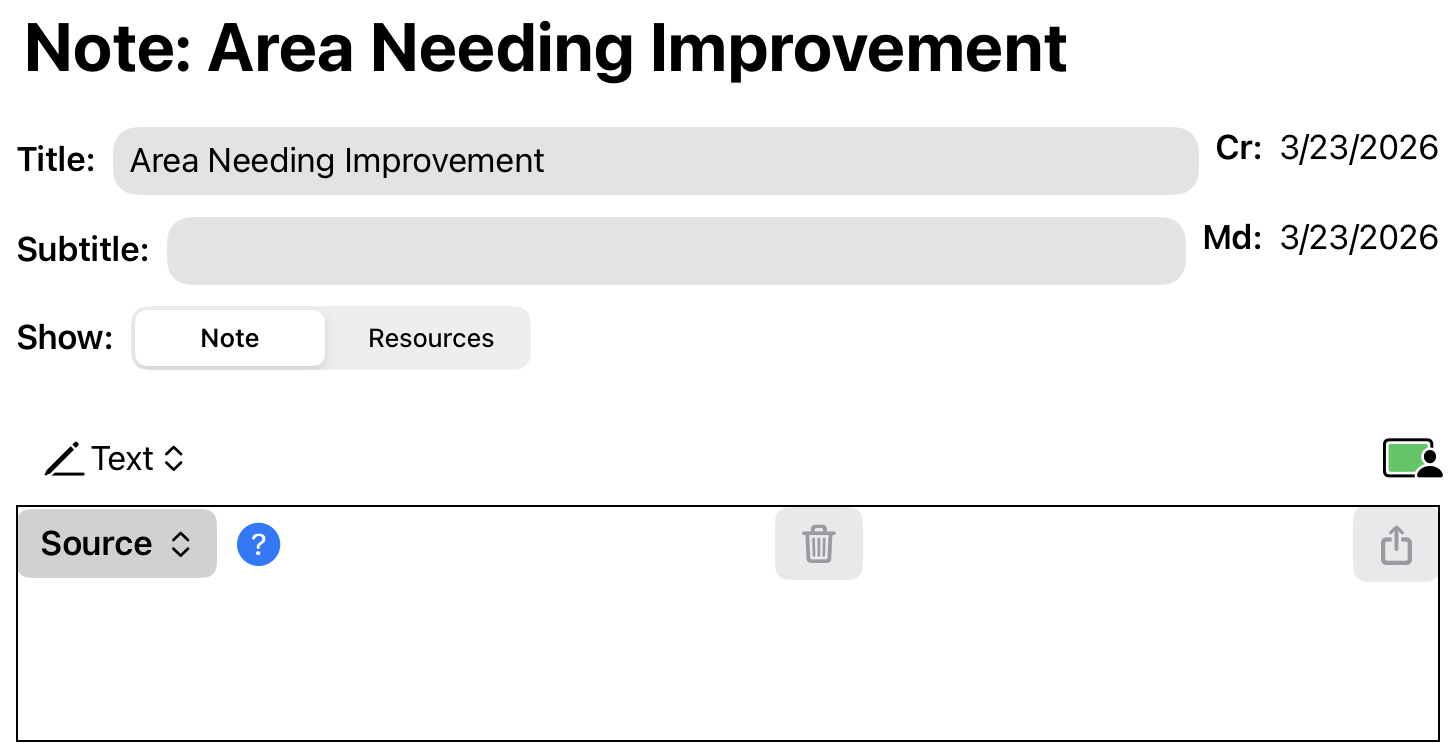
A Note is basically a combination of a narrative and a resource carousel. The Show button lets you switch between these two pieces.
- Use the Notes narrative to record the body of your note.
- Use the Resources carousel to attach photos, movies, etc. to the note to further illustrate and document your remarks.